Showing posts with label DIY. Show all posts

Friday, December 1, 2017

new crochet pattern - sea glass shawl by kim miller.


Skill Level: Intermediate

Sea Glass is a light weight, carefree, shawl edged with lacy pineapples that roll and crest just like the waves of the sea.

The entire shawl is worked sideways with the edging worked at the same time. Shorter stitches along the top edge give the shawl a slightly crescent shape which allows it to drape beautifully around the neckline.

This crochet pattern calls for approximately 2 skeins of Midknit Cravings Sugar (Silver/Gold) 115 g (4.05 ounces)/388 meters (425 yards) per skein, a 3.25 mm (D) crochet hook, and a yarn needle. This detailed well written pattern includes written instructions, as well as a chart of the first 12 and the last 11 rows.

Pre-blocked the shawl measures approximately 152.4 cm (60”) at its widest point, and 45.7 cm (18”) at its longest point. Blocked the shawl measures approximately 177.8 cm (70”) at its widest point, and 49.5 cm (19.5”) longest point. Please note that measurements are approximate and will be affected by the gauge and the brand of yarn.


kim


Wednesday, December 7, 2016

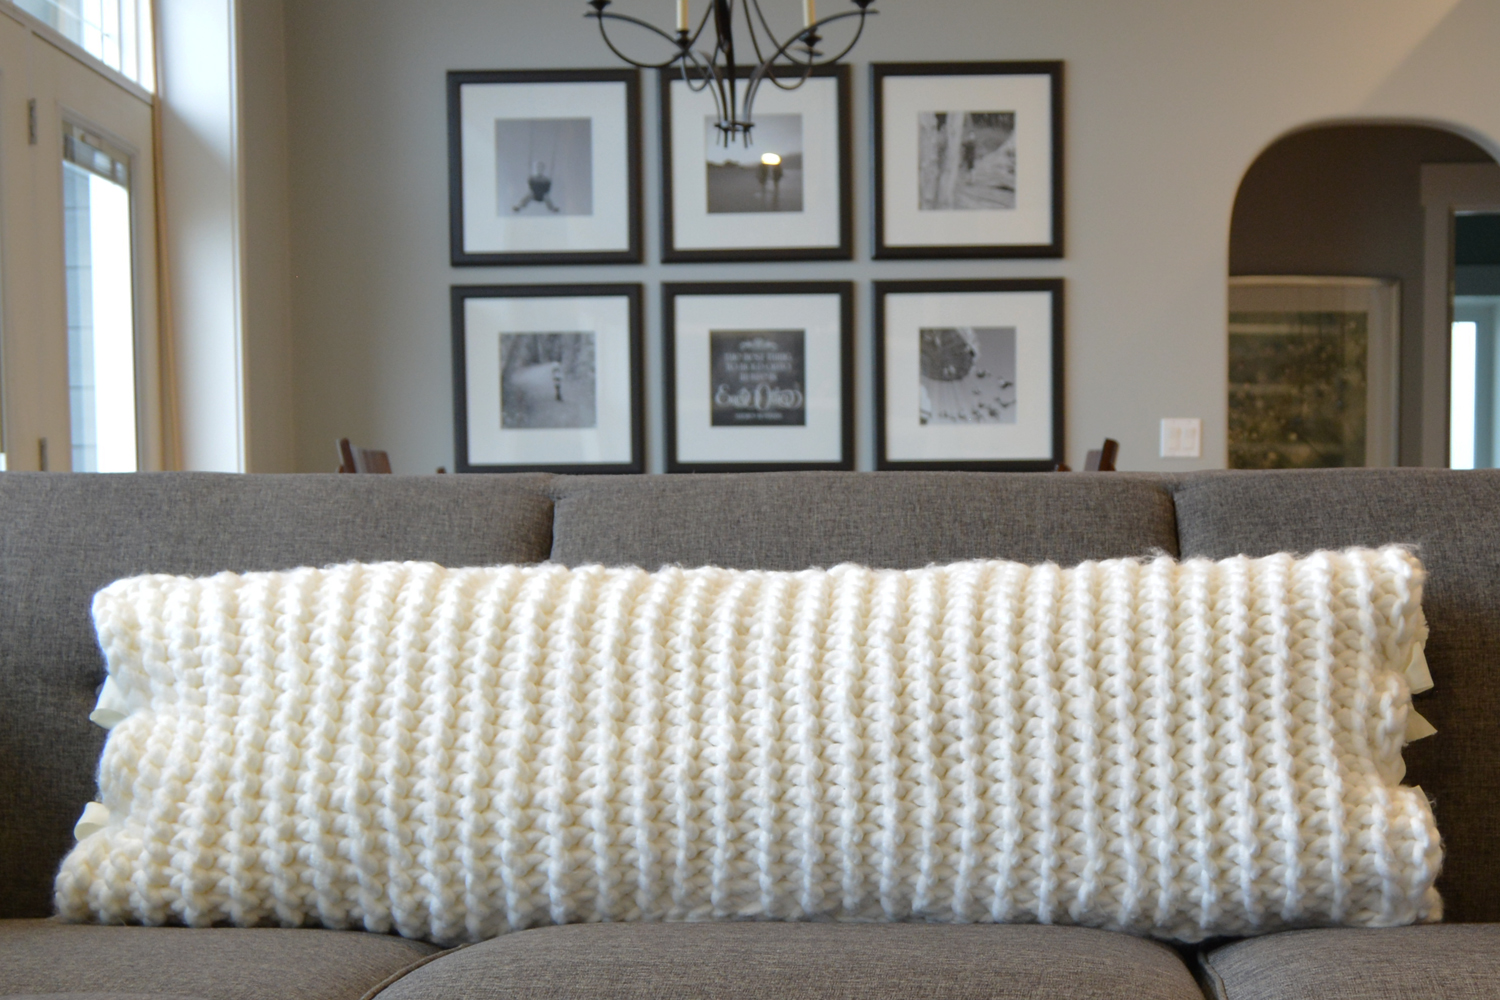
tutorial - chunky crochet sofa pillow cover by tara schreyer

Chunky knits are everywhere and we can see why. It is gorgeous and brings a cozy feel to any room. I wanted to try my hand at it and this was my creation. Want to make your own?


Materials
- 4 Balls of Loops & Threads™ Ginormous (100 yds/92m;15.8 oz/450 g)
- 25 mm (Size 50) crochet hook
- 120" (10') of 1.25" ribbon
- body pillow (measuring approx. 45" x 16")


Finished Size
Approximately 45" (114.3 cm) x 16" (43.2 cm). It has lots of stretch in these stitches.

Gauge
8 slip stitches x 8 rows = 6" square

Instructions for the Chunky Crochet Sofa Pillow Cover

Pillow Front/Back (make 2)

Chain 21.

Row 1: Working in back humps of chains, slip stitch in 2nd chain from hook and in each chain to end, turn - 20 sts. (Mark the first and last stitches of row with a stitch marker as it is easy to miss these stitches. Continue to move markers with each row.)
Row 2: (Mark as right side) Chain 1, working in the front loops only, 1 slip stitch in each stitch to end, turn - 20 sts
Row 3: Chain 1, working in the back loops only, 1 slip stitch in each stitch to end, turn - 20 sts
Rows 4 - 67: Repeat Rows 2 & 3 thirty-two more times
Row 68: Slip stitch in back loops only in each slip stitch to end - 20 sts
Fasten off, leaving a very long strand for stitching up the length of the pillow.

Finishing
Lining up the first and last rows, place wrong sides together and slip stitch the two panels together along the long edges. Leave the short edges open. 

Stuff the pillow into the pillow cover.

Cut four 1.25" ribbon into 30" (2.5') lengths. On the side of the pillow, weave two of the ribbons through a few loops on the inside of the pillow at the 7th stitch from each side.

 
 Tie into a bow or knot and trim the ends to the desired length. Repeat on other side.


Don't forget to share your finished projects on Ravelry. Can't wait to see everyone's projects!!


tara.


Monday, June 6, 2016

diy crochet gifts for the teacher.


The end of the school year is quickly approaching, leaving many of us scouring the web for quick DIY gifts for the teacher. No worries...we have you covered. We have a great selection of crochet patterns that not only work up quickly, but will show your appreciation in a big way!

Nothing says "owl always love you" like our crochet pattern for the Owl Love Coffee Cozy.

Owl Love Coffee Cozy by Kim Miller

If you love the idea of a coffee cozy, but are uncomfortable with cables, then how about our popular crochet pattern for the Coffee Jacket?

Coffee Jacket by Kim Miller

Or what wise teacher wouldn't want one of these adorable characters from the Chubby Owl Family to decorate their desk, or hold up their books?

Chubby Owl Family by Tara Schreyer

Then there's always a grown up gift for your favorite teacher like the Jute Wine Bottle Sleeve?

Jute Wine Bottle Sleeve by Tara Schreyer

And of course we can't forget the timeless apple for the teacher...so why not dress your apple up with a Cabled Apple Jacket.

Cabled Apple Jacket by Kim Miller

For more quick, crochet gift ideas visit shop sections For the Home - Patterns and Cozies/Misc. - Patterns at knotsewcute.etsy.com.


kim and tara.


Sunday, April 13, 2014

how to make a tassel.

Not only are tassels the perfect embellishment for your crochet projects (or what have you), but they are also a great way to use up left over yarn.

 
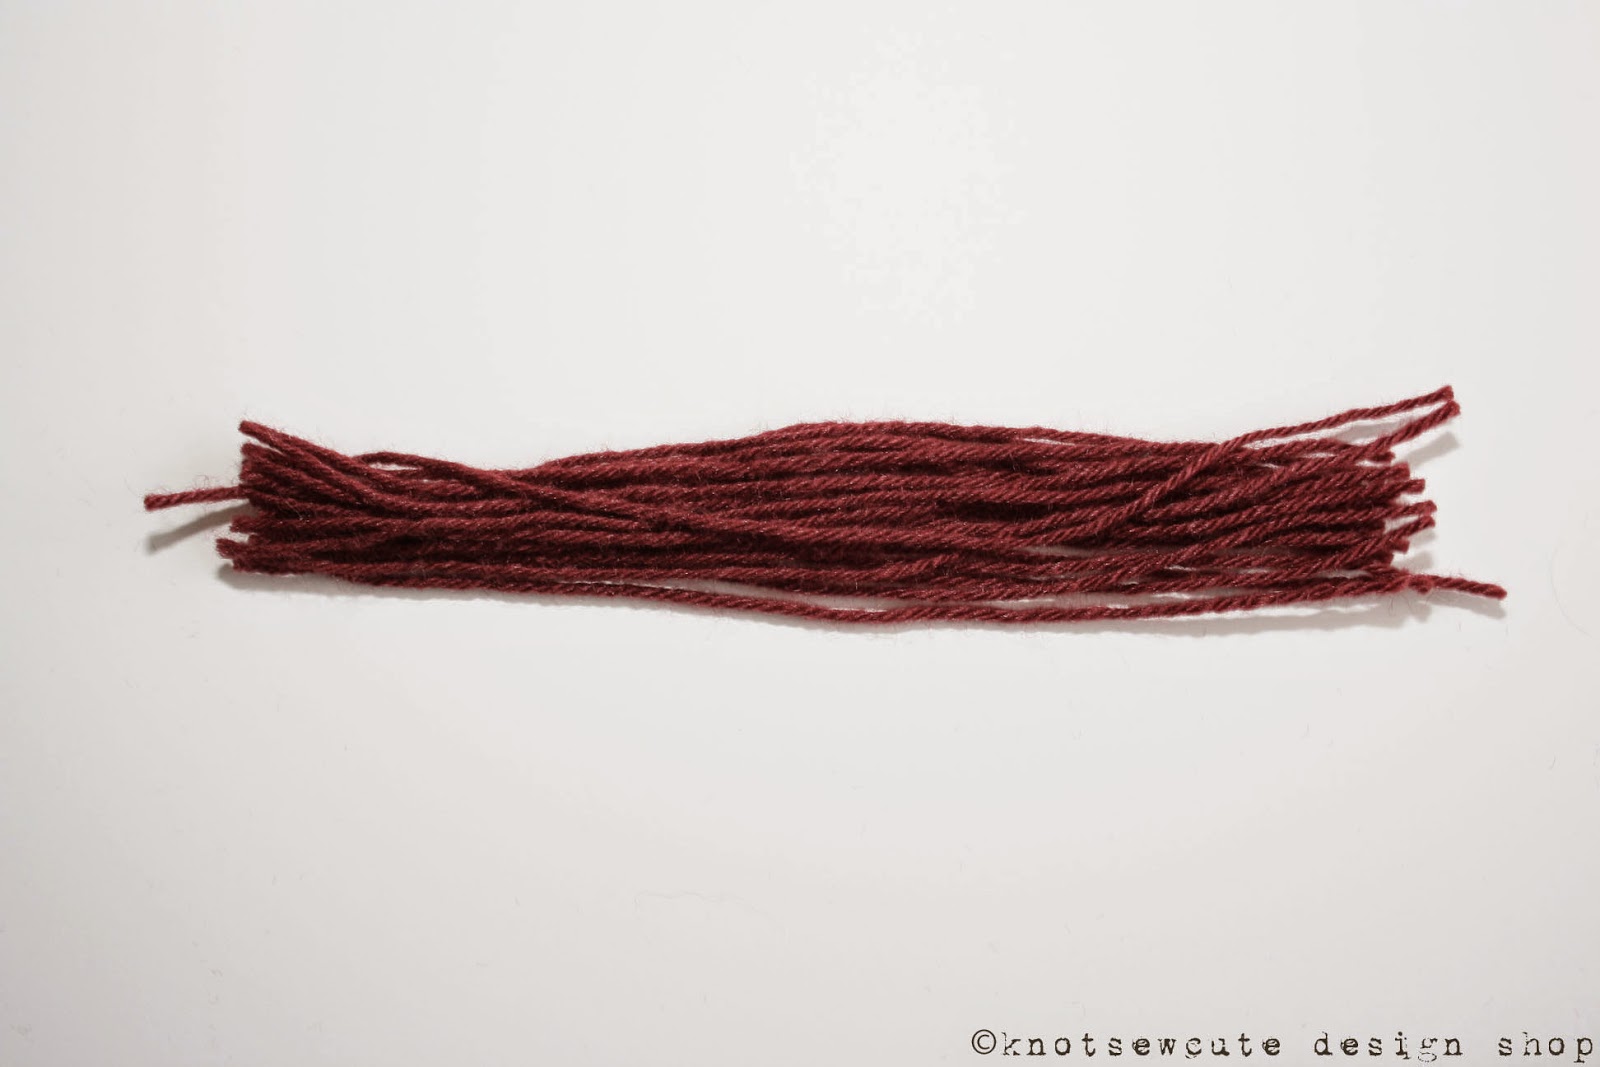
First off, grab any piece of scrap cardboard and cut to desired size. Your finished tassel will be slightly shorter than your piece of cardboard. Next, lay a piece of yarn across the top of the cardboard. Starting and finishing at the bottom end of the cardboard, wind yarn around both the cardboard and the piece of yarn lying across the top. I did about 20 wraps.

 
 Pull the top piece of yarn tightly and tie the top of the tassel securely.
 
 
Cut the yarn ends at the opposite end of the cardboard, and remove the tassel from the cardboard.
 

 Cut another piece of yarn and wrap it a few times tightly around the tassel, approximately ½” from the top and tie securely.


To disguise the knot, pass both yarn ends through the center of the tassel as shown.


Trim any excess yarn across the bottom of the tassel.


Voila...a simple, beautiful tassel that will add detail to any project!!!


Another option, that adds both shape and weight to your tassel is to use a bead. To do this start by threading a bead onto a long piece of yarn and tie a knot close to the bead. For the moment, set the bead aside. 


Next, omitting the piece of yarn lying across the top, wind yarn around the piece of cardboard.


Cut the yarn ends at and remove the tassel from the cardboard.


Lay the yarn out flat as shown.


Using the beaded piece of yarn, tie a knot around the center of the tassel. Take care to fan the yarn out evenly around the bead and tie securely.


Again, to disguise the knot, pass both yarn ends through the center of the tassel and trim any excess yarn across the bottom of the tassel. For extra detail, add a bead to the top of your tassel and secure with a knot close to the bead.


kim.